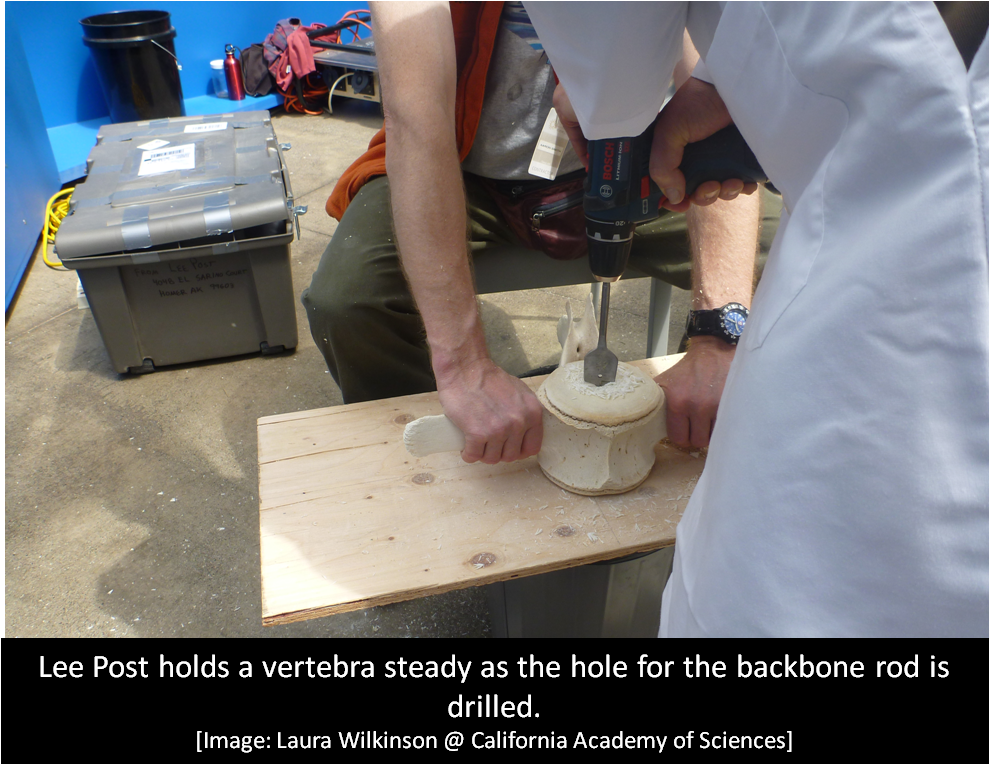
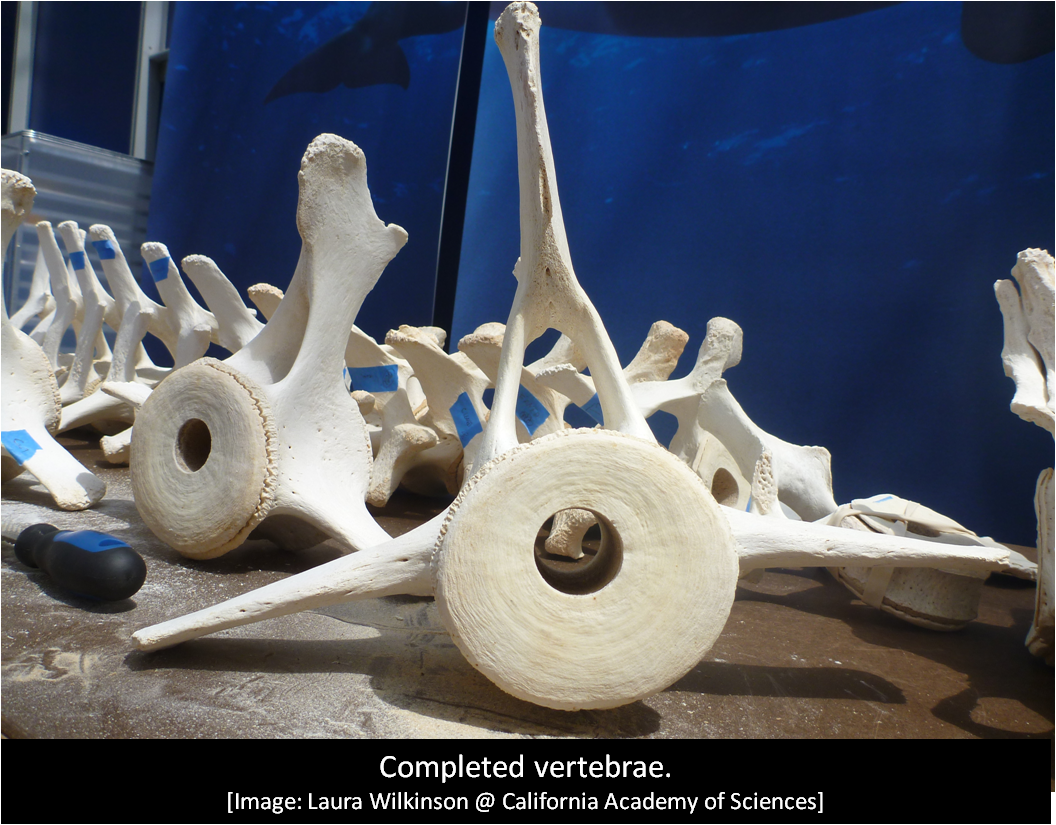
One of the first parts of the Orca that we’ve been working on is the backbone. In a previous post, I showed our volunteers putting all of the vertebrae in order and gluing the vertebral epiphyses on. Now, we’ve moved on to actually drilling holes in each vertebra so that they can fit over a rod that we bent to form the curve of the backbone.
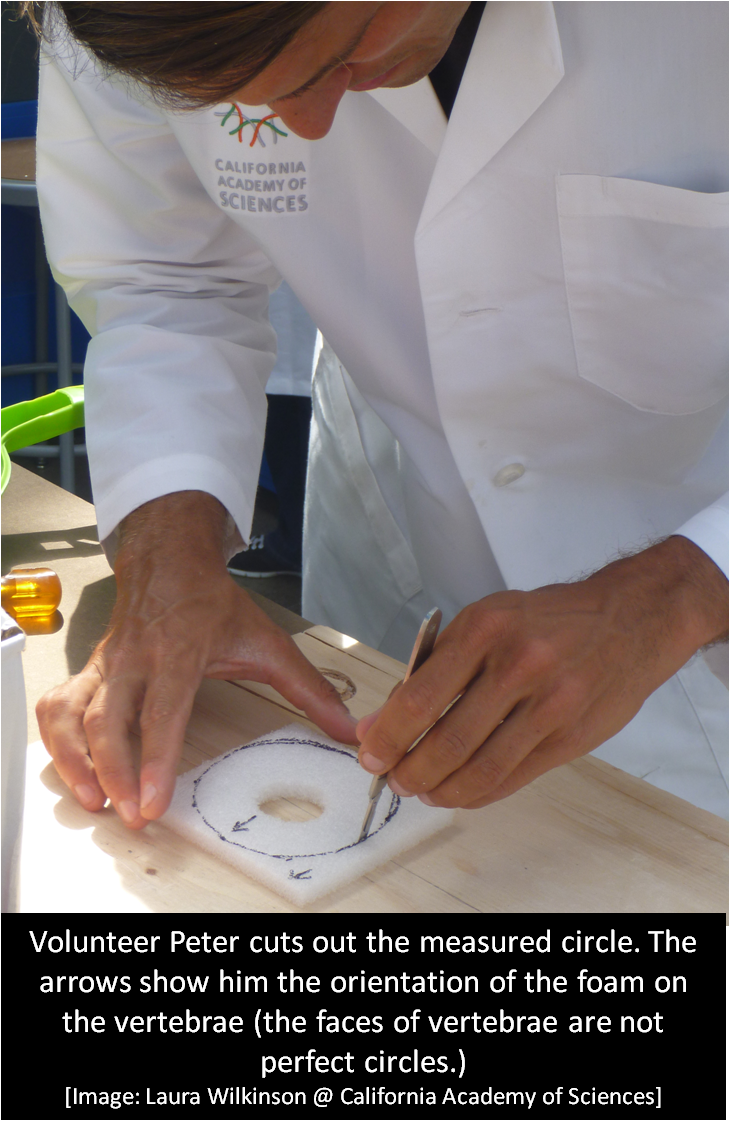
All vertebrae have cartilage that forms between them to act as padding between the bones. To mimic this cartilage we will be using silicone, but first need to create spacers to place in between each vertebra. We are using blocks of polyethylene foam that our exhibits crew cut into specific thicknesses (thinner between the thoracic vertebrae and thicker between the lumbar). Once those were cut, we used a hole saw to drill a hole in the foam to match the size of hole in the vertebrae that the rod will go through.  The foam squares were then measured and cut to fit 2 centimeters away from the outer edge of each individual vertebra. This 2 centimeter buffer will allow us to layer the silicone “cartilage” over the foam out to the edge of the vertebra without the foam being visible.
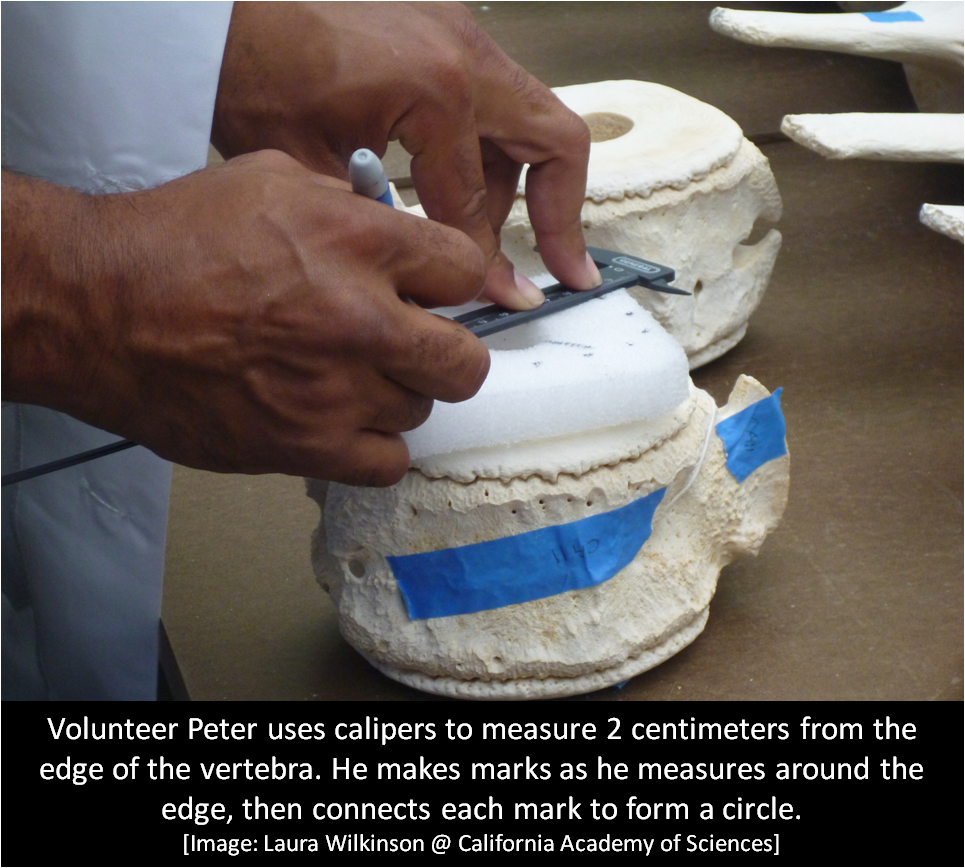
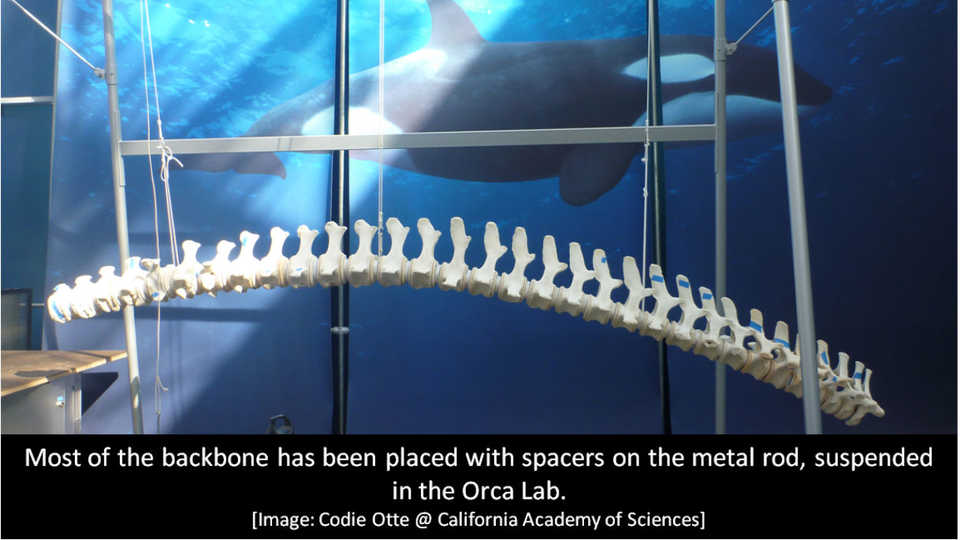
 When placed together, we now have custom-shaped spacers between each of the vertebrae.
The backbone is looking great! Come see it for yourself in the Piazza.
-Laura Wilkinson, Curatorial Assistant and Specimen Preparator, Ornithology and Mammalogy
All marine mammal stranding activities were conducted under authorization by the National Marine Fisheries Service through a Stranding Agreement issued to the California Academy of Sciences and MMPA/ESA Permit No. 932-1905/MA-009526.