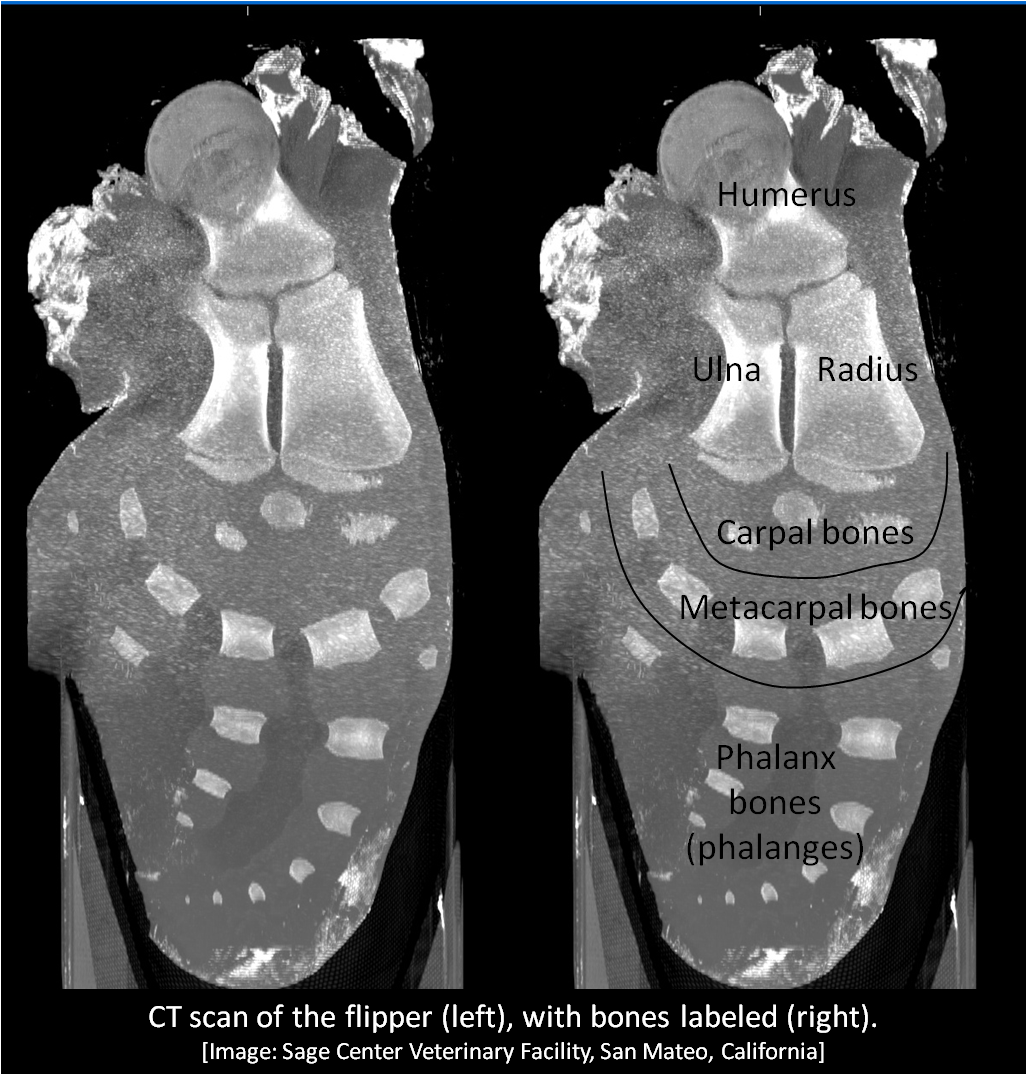
One of the more time-intensive parts of the articulation process is assembling the flippers. From the outside, flippers look like they might be made up of cartilage, like the dorsal fin. However, there are many small bones within the flipper that correspond to the arm and hand bones that you would find in a human. We took a CT scan of O319’s flipper before we started cleaning the bones to make its articulation easier on us.
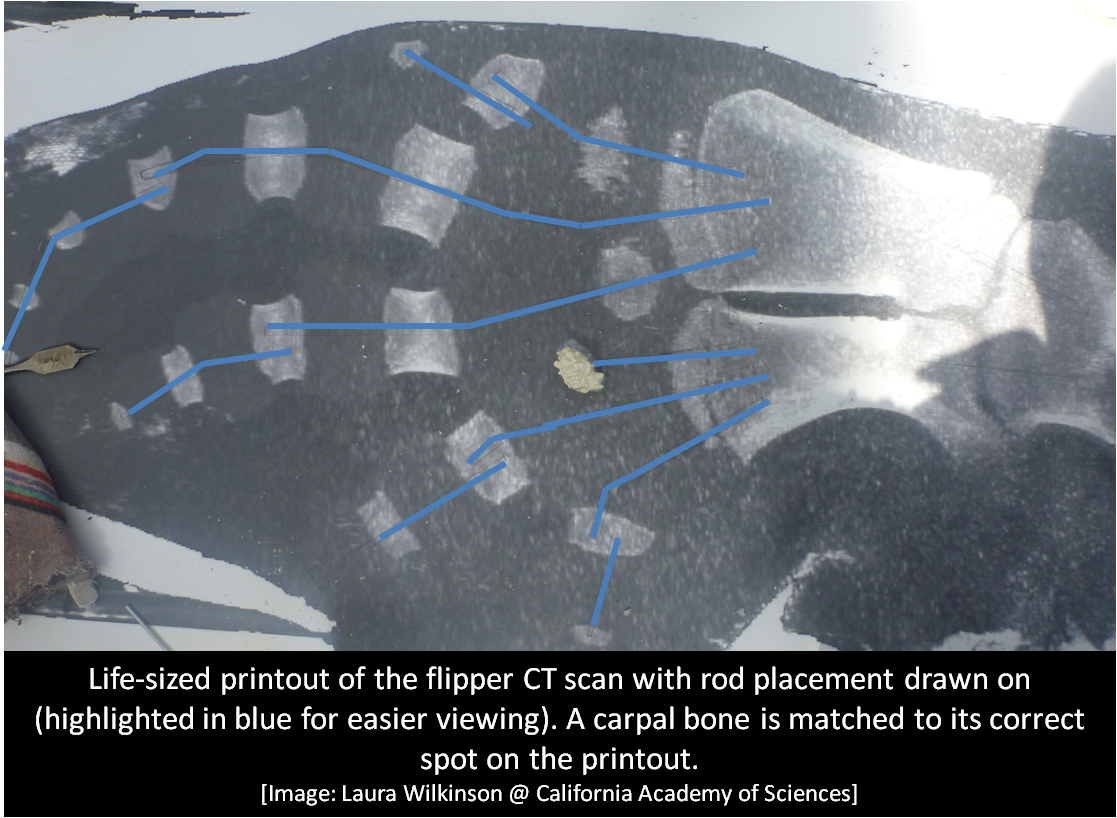
As you can see, the bones in the flipper actually look a lot like a hand. I’ve labeled the bones to make the comparison to human bones easier. In between each of the carpals, metacarpals, and phalanx bones is a padding of cartilage, which will be reconstructed using silicone. The rest of the flipper is made of dense, fibrous connective tissue. Without this CT scan it would be difficult for us to correctly orient all of these small bones. We were able to print a life-size version of the scan so that we could accurately determine which bone was placed where, as well as figure out where rods would be drilled through each bone.
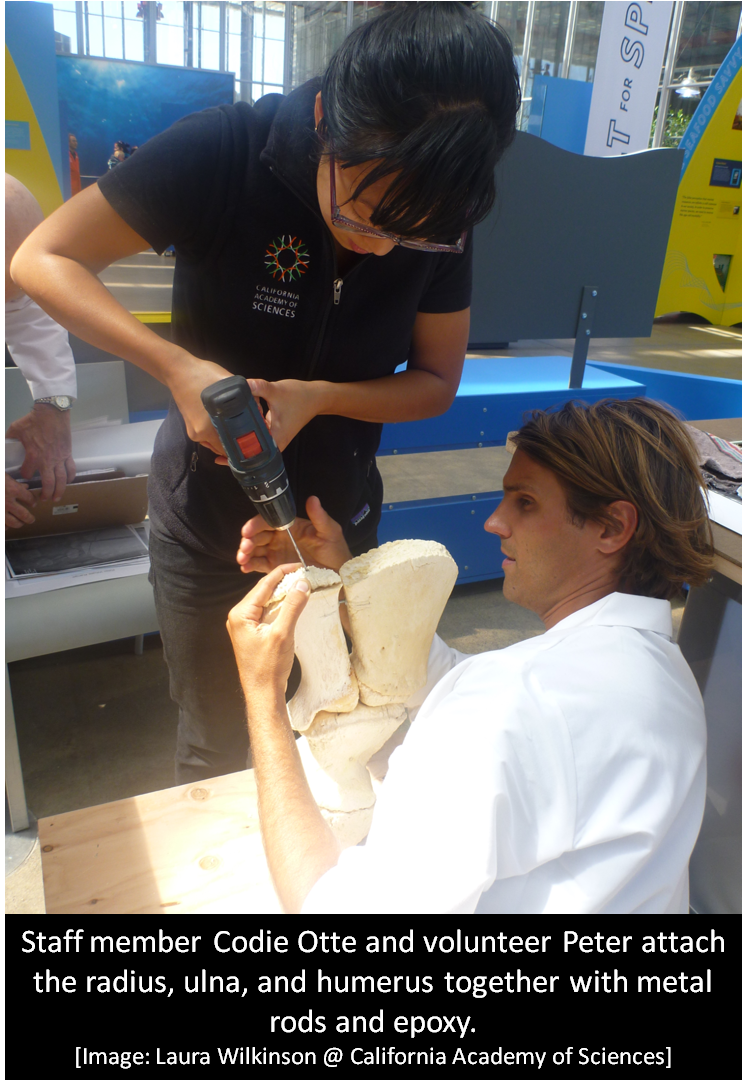
The first bones we connected were the humerus, radius, and ulna.
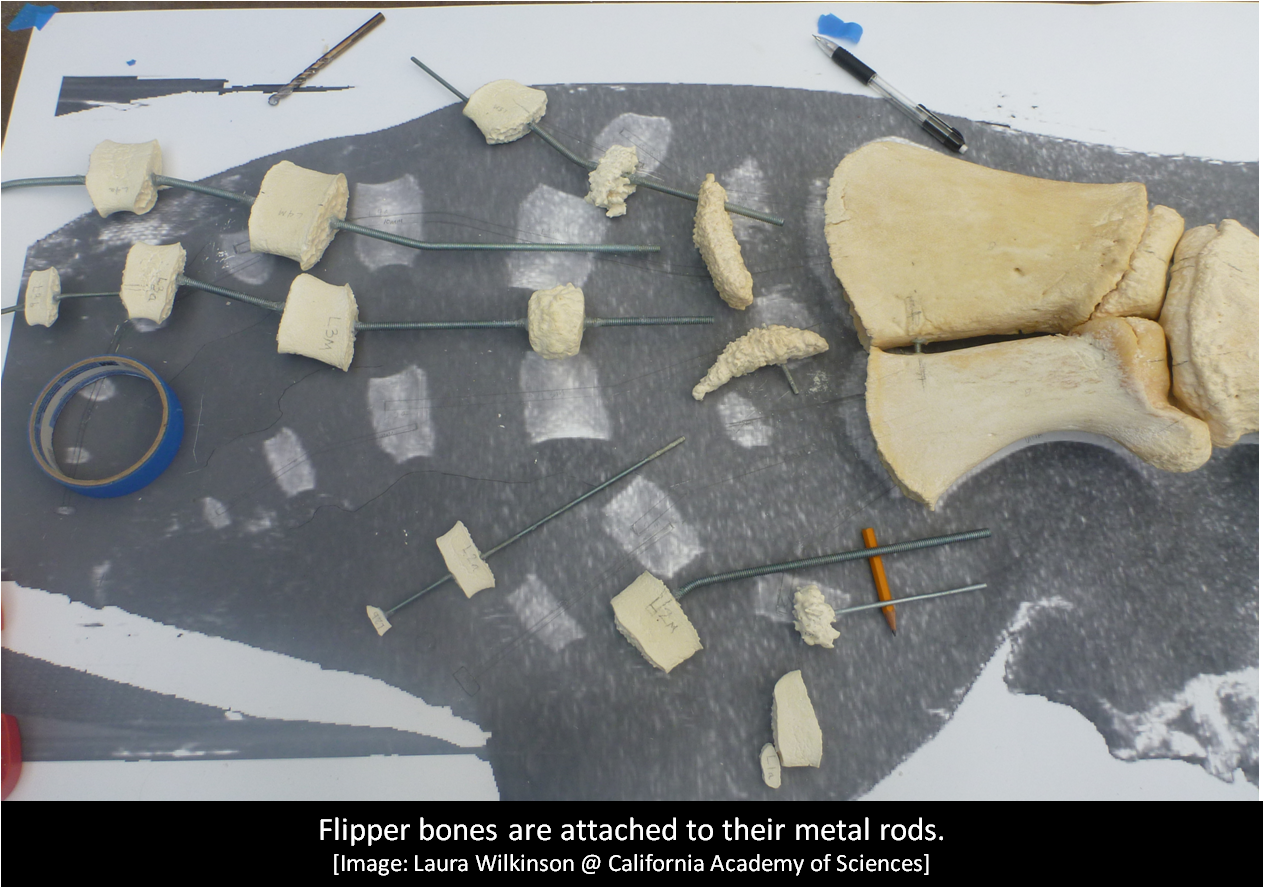
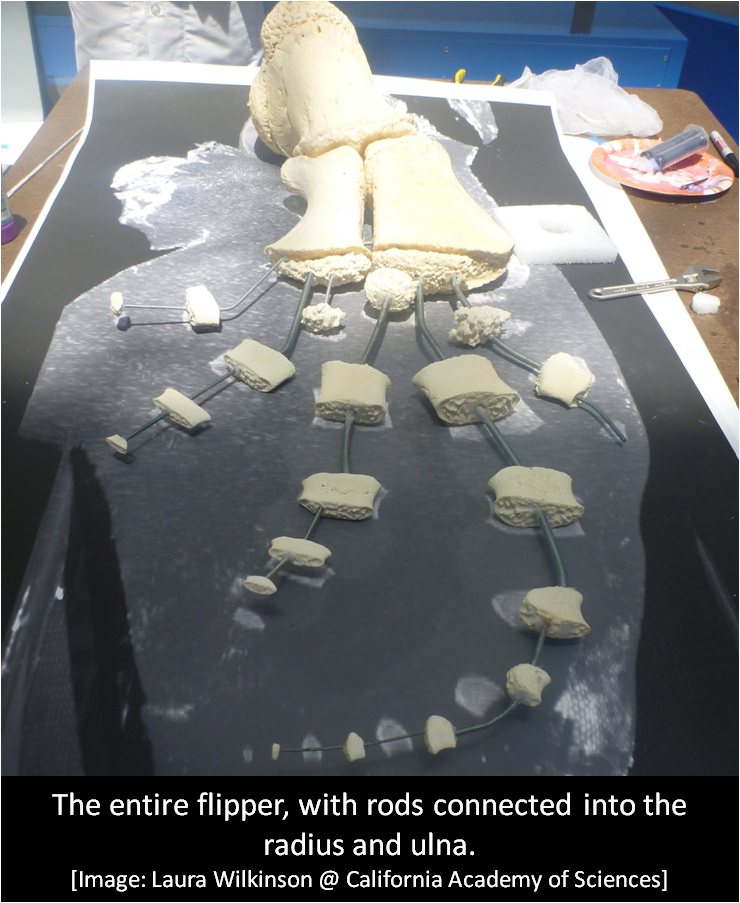
From there, we bent rods to fit with the desired shape of each “finger” and drilled holes in the carpals, metacarpals, and phalanges to correspond with the rod placement. Thicker rods were used to support the carpals and metacarpals to the radius and ulna, while thinner rods connected the metacarpals to the phalanx bones. Each bone was glued onto the rod using epoxy and then the rods were anchored into the radius and ulna with epoxy.
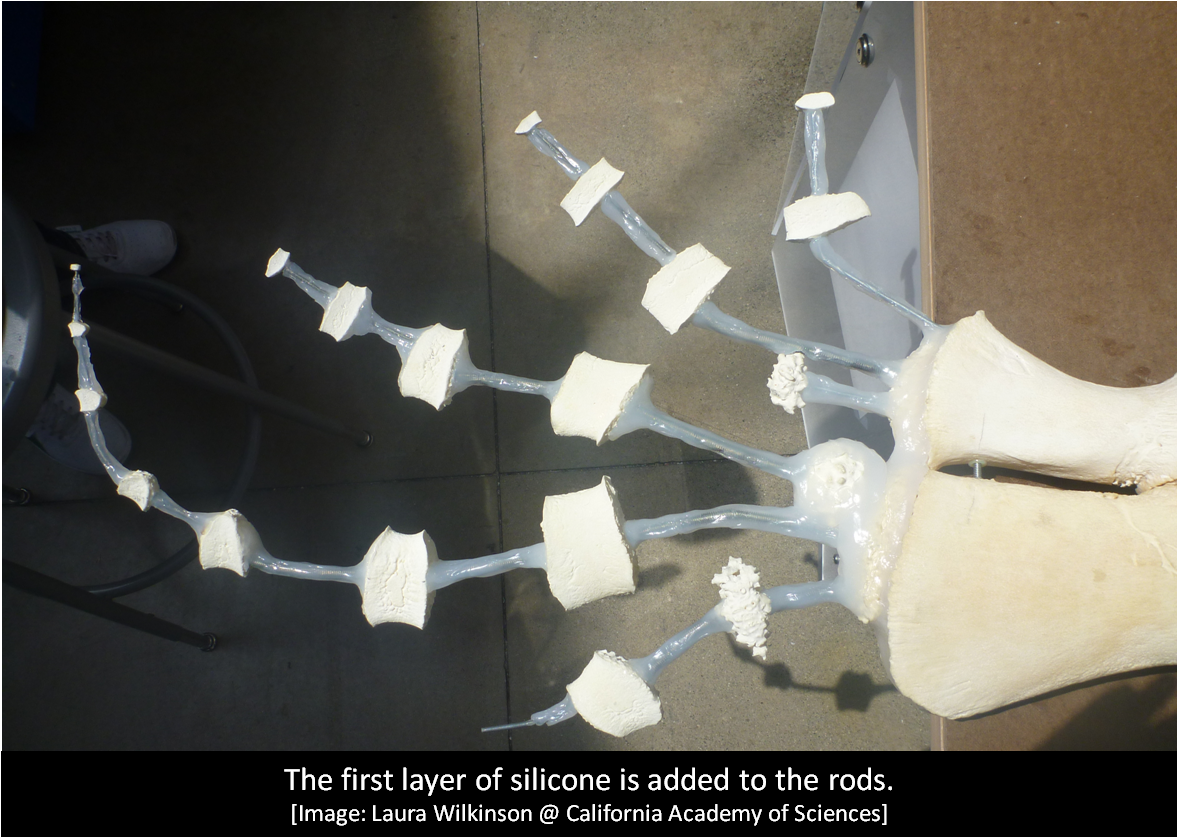
We then started layering on silicone to act as the cartilage, just like we did between the vertebrae.
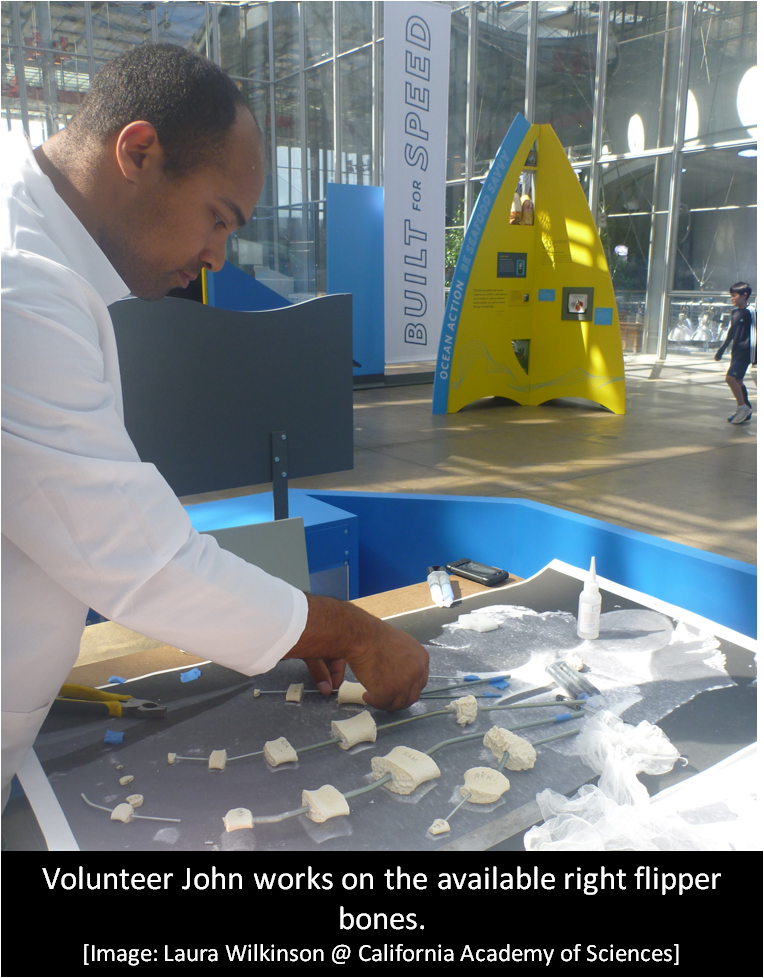
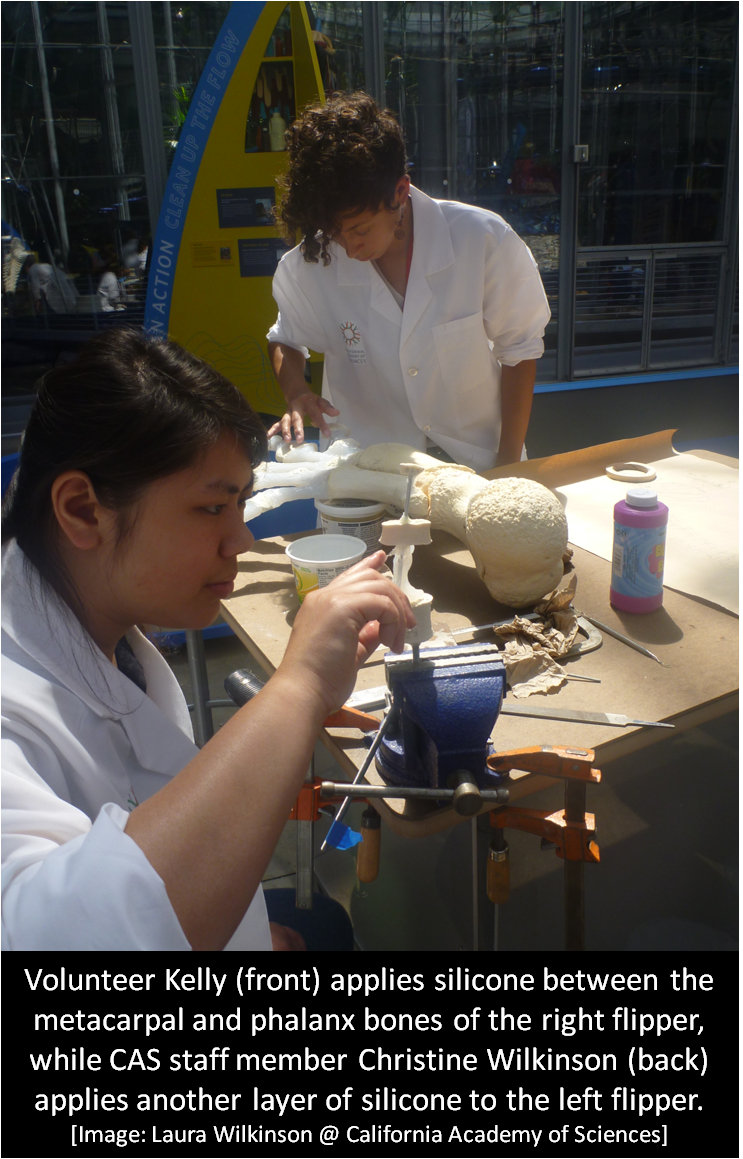
We will only be completing the left flipper in its entirety at this point in the project. The humerus, radius, and ulna of the right flipper are still going through the degreasing process (we put the right flipper into our dermestid beetle colony and the left flipper in maceration – the beetles made the right bones retain a lot more grease than maceration did. Read about our beetle colony and maceration process in past blogs). We were able to put the right carpals, metacarpals, and phalanges onto their rods and begin adding silicone. A few of us will finish articulating the right flipper whenever it’s done degreasing.
Note the bottle of bubbles in the background (next to the left flipper). We use those to keep our fingers lubricated while smoothing layers of silicone. If we didn’t, our fingers would constantly stick and we would never get a smooth finish to the silicone. Come see us in action Tuesdays through Sundays in the Piazza!
-Laura Wilkinson, Curatorial Assistant and Specimen Preparator, Ornithology and Mammalogy
All marine mammal stranding activities were conducted under authorization by the National Marine Fisheries Service through a Stranding Agreement issued to the California Academy of Sciences and MMPA/ESA Permit No. 932-1905/MA-009526.
